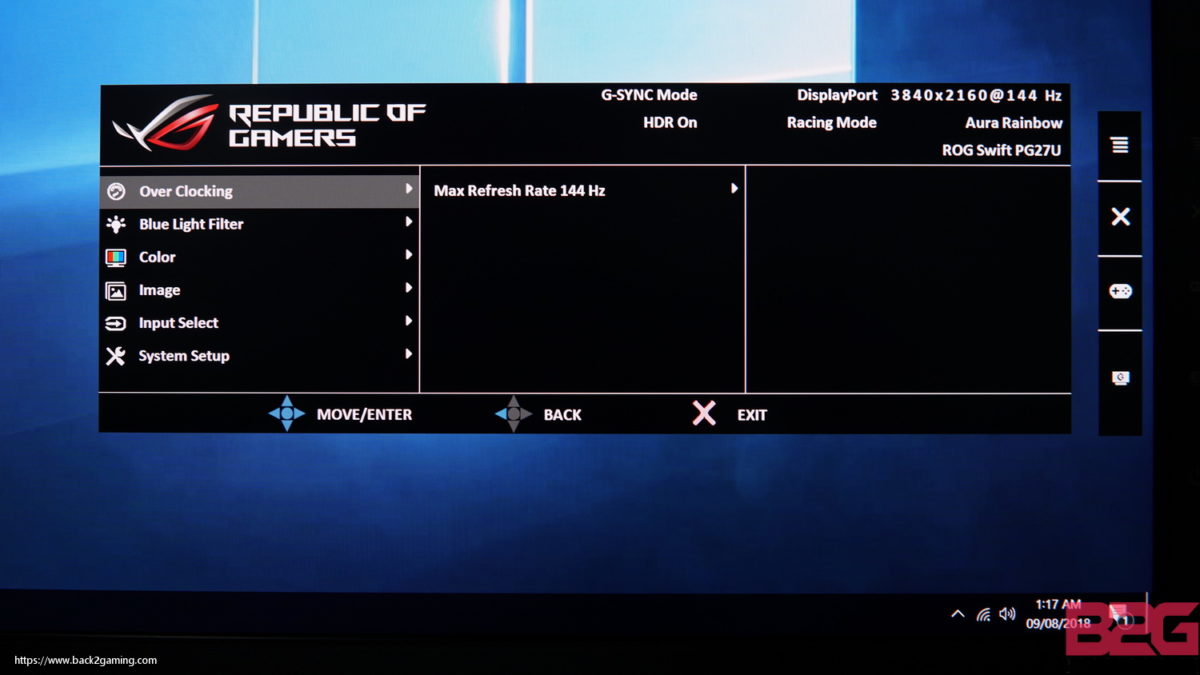
With the latest gaming technology that has burgeoned in the last few years, video gaming has reached a different level altogether. Big games these days are way more accessible than they once were, and with high-end processors, graphics cards & gameplays, the gaming experience that one can get right at their home is unlike anything we’ve ever seen.
However, a critical element that has drastically changed the visual experience of gaming is higher refresh rates in computer monitors. With refresh rates of up to 240Hz, gaming has become smoother & clearer than ever, allowing players to be in sync with the smallest of movements during the gameplay.
In case you have a gaming monitor that supports a 144Hz refresh rate but hasn’t been clocked yet, you are in the right place. In this article, we will be discussing how to turn on the 144Hz refresh rate on your monitor. But before you do that, you need to make sure that your monitor supports a 144hz refresh rate. And, If you want to play games at 144Hz, then you should pair your monitor with a GPUs that can support gaming at 144Hz.
How to Turn on 144Hz on your monitor
Even if you have bought a monitor that says on the box that it runs at 144Hz monitor, it won’t be doing so right out of the box. As mentioned above, the 144Hz setting needs to activate to get that refresh rate manually. However, it is also possible that your monitor could already be running at 144Hz, and you may be unaware of the same. There are three straightforward steps to confirm that your gaming computer’s monitor is running at 144Hz.
So, here are the steps to Overclock your monitor or set you to monitor to 144Hz:
Step 1: Confirm your Monitor’s Compatibility
As mentioned above, not all monitors run at 144Hz, so first & foremost you need to ensure that your monitor is compatible with the 144Hz refresh rate, as most low-end monitors do not support refresh rates higher than 60Hz. You can simply look up your monitor’s specs online, just get the brand & model name correct. In case you find out that your monitor doesn’t support refresh rates higher than 60/65Hz, then you’ll have to purchase one that does before taking the next steps. If you are into gaming monitors, I would suggest you go with a curved high refresh rate monitor.
Step 2: Connect your monitor to the PC with a display port connector
Once you have confirmed that your monitor can support a 120Hz/144Hz refresh rate, you need to connect it to the right display port, because only the display ports can transfer higher refresh rates like 120Hz to the CPU. It’s important to get a proper display port connector for the same because the usual HDMI cables and the old VGA cables aren’t compatible with the higher refresh rates.
Important Note: Sometimes users may have faulty or locally made cables that aren’t good enough to transfer high refresh rates to the display ports. Therefore you need to make sure that you only display the port cable that came out of the box with your gaming monitor, or if there wasn’t one then get a high-quality display port cable from a tech store.
Step 3: Turn on 144Hz refresh rate in settings
The final step is to turn on the higher refresh rate on your monitor through the settings. The whole process is pretty easy & user-friendly, and if you follow the steps given below correctly, it shouldn’t take you more than a few minutes. For ease of access, we have mentioned two different ways users can turn up the monitor’s refresh rate to 144Hz; one is for Windows 10 and the other is for Windows7/Windows 8. Users can also use these methods for other refresh rates like 120Hz,165Hz, 240Hz, etc. as well.
How to turn on 144Hz refresh rate on the monitor on Windows 10
To enable a refresh rate higher than 60Hz on Windows 10, just take the following steps:
Step 1. Go to Windows menu > Settings>System.
Step 2. Open the Display tab in the system settings.
Step 3. Click on Display adapter properties and then the Monitor tab.
Step 4. In the drop-down menu, select 144Hz from the screen refresh rate of monitor settings
Step 5. Click on Apply, and then on OK. Voila! The 144Hz refresh rate has been turned on your monitor.
How to turn on 144Hz Refresh Rate on Windows 7/ Windows 8
Step 1. Right-click anywhere on your desktop. Now click on screen resolution.
Step 2. Select the ‘advanced settings’ option.
Step 3. Go to the monitor tab and here you will find the refresh rates option. Click on it & choose 144Hz or any other desired rate from all the refresh rates that are listed there.
Step 4. After selecting your desired refresh rate click on OK. That’s it. Now your windows 7/8 PC is running on a display with a 144Hz refresh rate.
Conclusion
That’s all for today’s fold, for more info on gaming, stay tuned! The thing that you should watch out for is the Cable. So, do check that you have a HDMI 2.0 connection or atleast a display port 1.2 to take advantage of your expensive 144Hz monitor.
Some folks have reported on Reddits and forums that updating the Nvidia driver sometimes reset the refresh rate, so you might want to double-check if that’s the case for you too. The same goes for AMD drivers, according to some Redditors.


