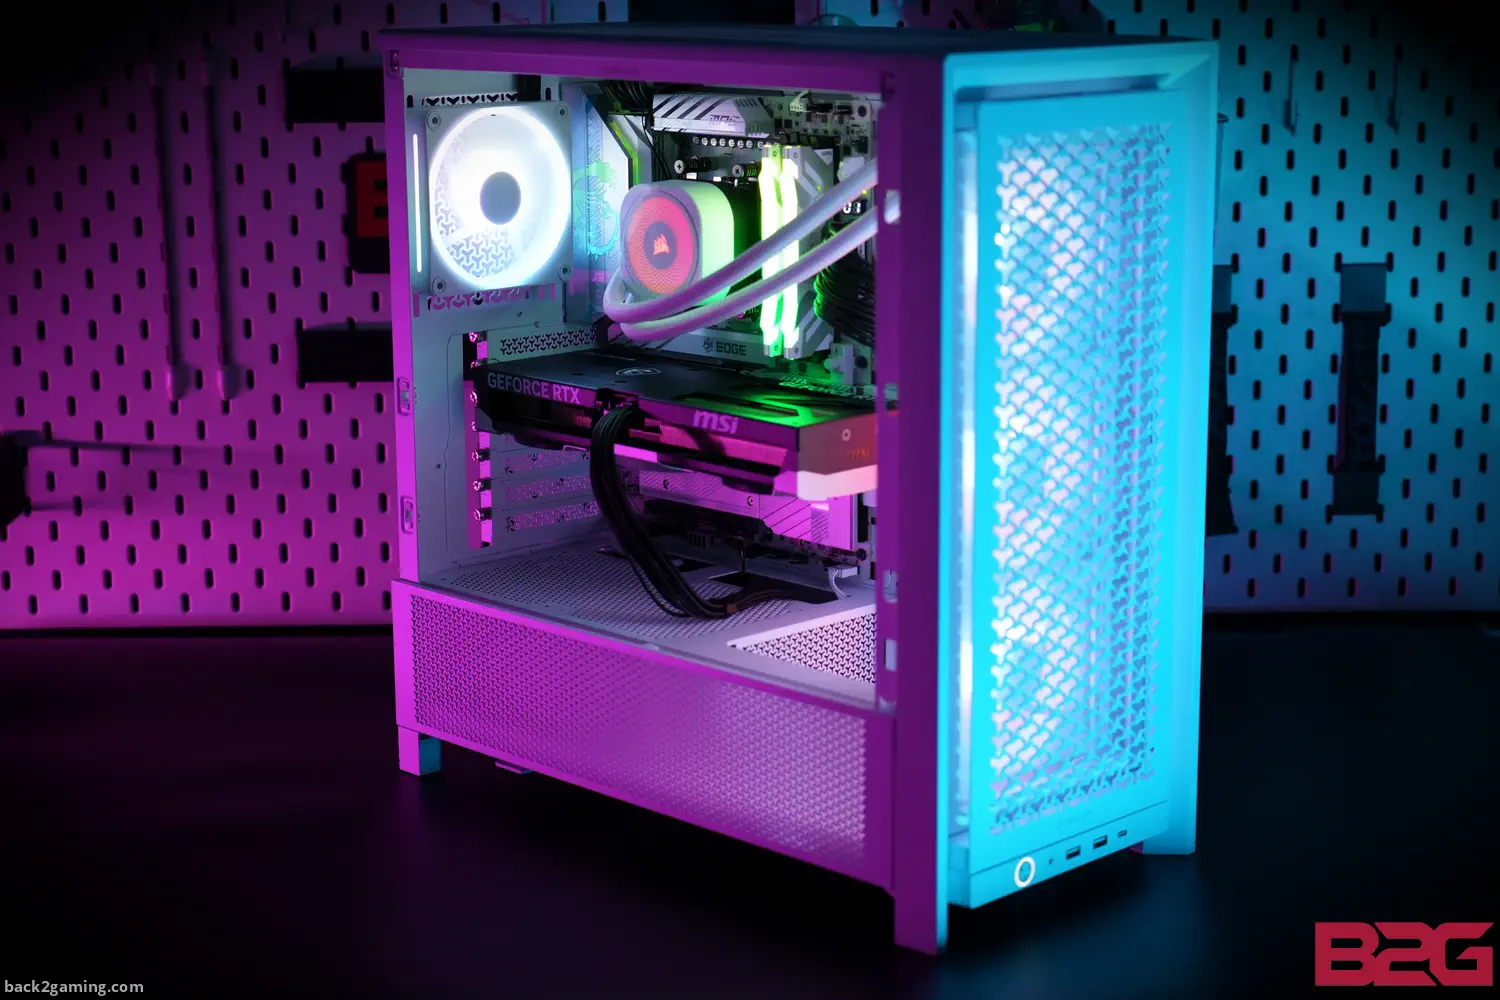
Now let’s open up the case. One thing I have to point out is THERE IS NO CATCH MECHANISM for the tempered glass panel. Once you release the thumbscrew, its as free as a bird so make sure to be very mindful when opening the case up.
Once the glass panel is removed we now see the very generous space inside the Corsair FRAME 4000D. My mental image of a midtower is exactly the size of the FRAME 4000D and the Corsair FRAME 4000D isn’t a hulking chassis in any way. Its footprint is relatively average and height is decently enough. Its actually just enough that I opted for the side vent because I don’t want to back a top cooler and bury the upper part of the board behind the fans.
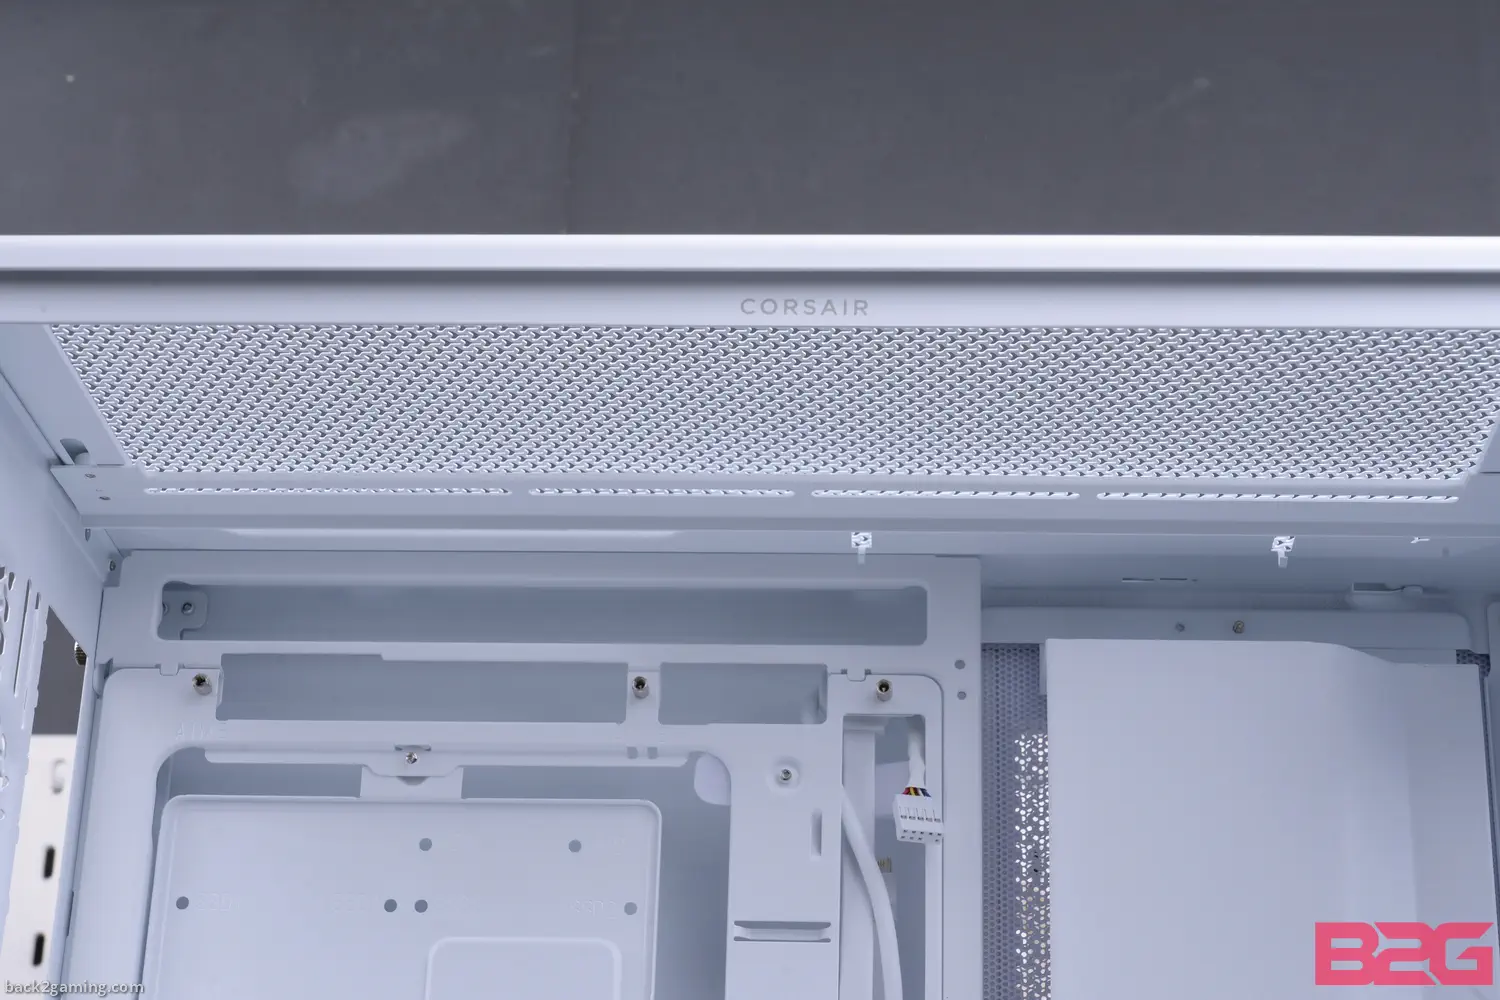
Speaking of top vent or the “roof” as some call it. We have a peak on that InfiniRail mounting system as well on to. At the back is a slightly adjustable fan venting hole that is very friendly to Corsair’s QuikTurn screws.
As a modular chassis, much of the components that make up the internals are layered panels and its easy to see how they’re lined up inside the case. The most obvious of all the features that the modular system is built around on this case is airflow. The front has the wider InfiniRail fan mounting rail system which can open up to 200mm wide to take in a pair of 200mm fans. The rest of the case are massively perforated allowing almost passive flowthrough on the majority of the case, even from the bottom compartment.
The bottom compartment has a flip-out panel with options for a full blank out panel or a translucent sheet. Regardless which you choose, you’re block the area so if you want maximum airflow and don’t mind the cables possibly peeking, its best to remove them.
Back on the motherboard tray, we have this massive cut-out allowing access to the back of the board. A small plate is mounted though so it has to be removed during servicing.
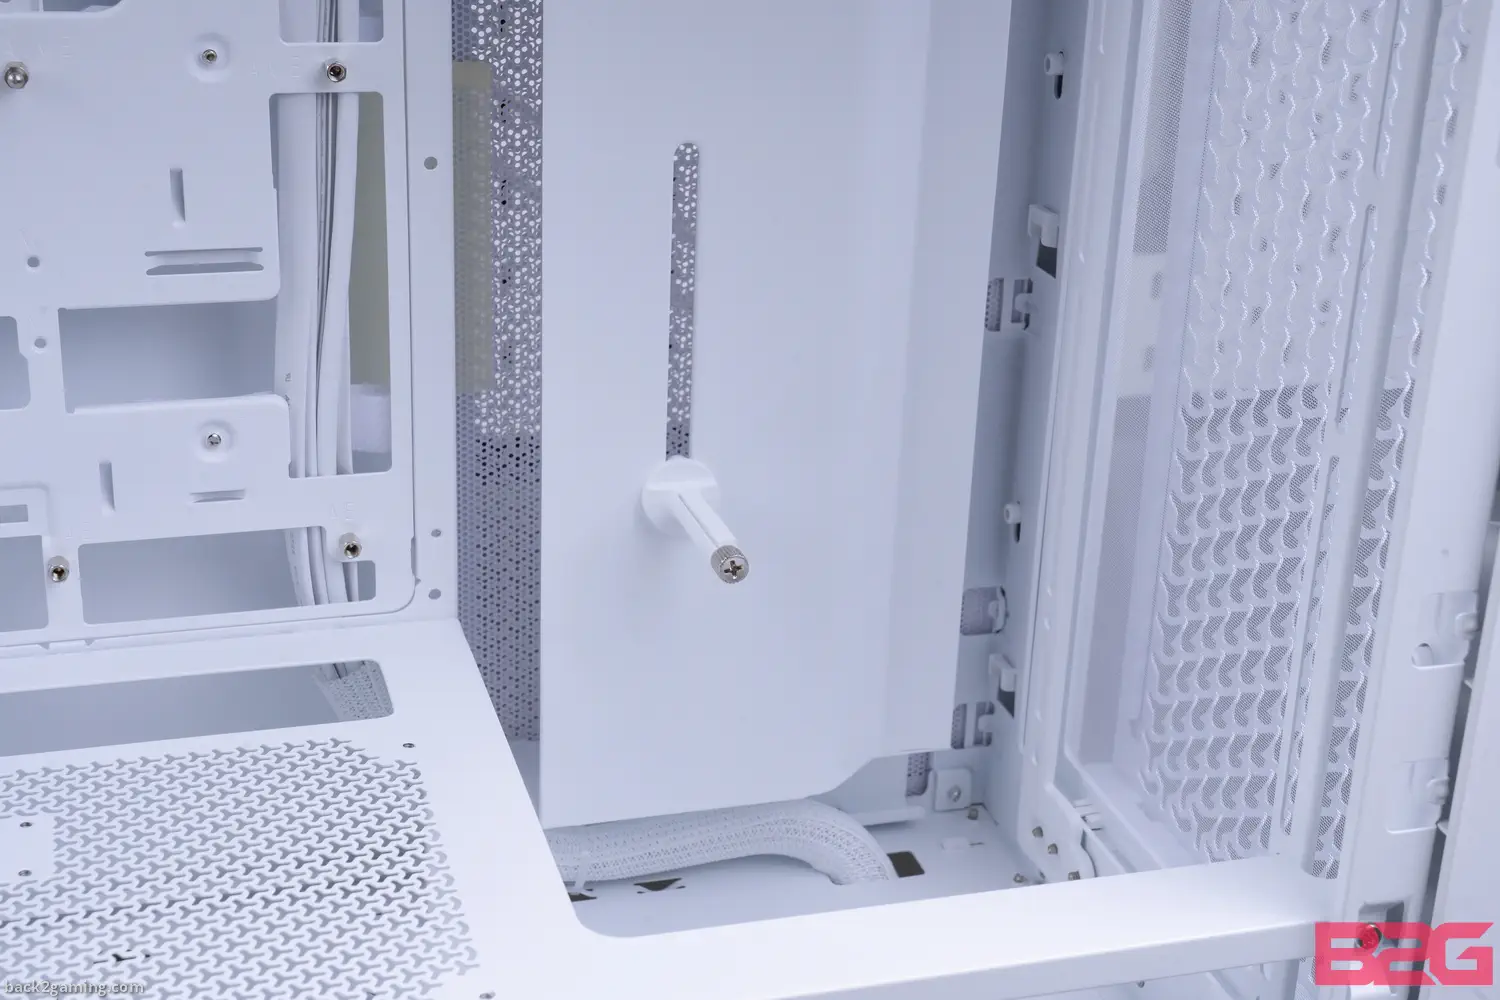
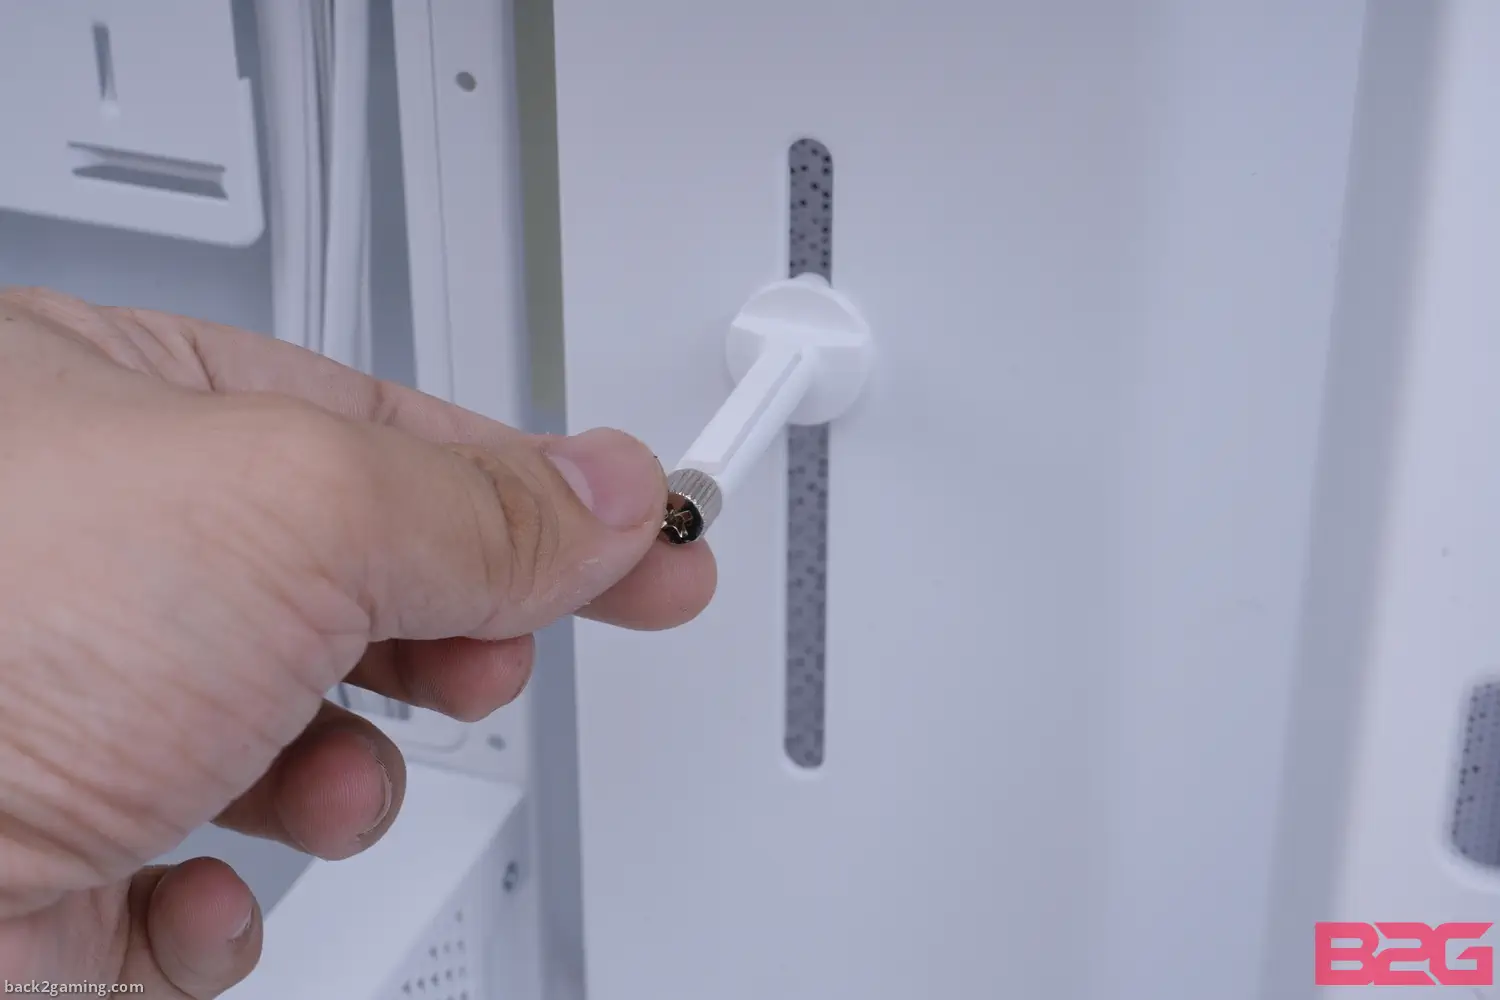
One of the nifty little additions that Corsair did is this adjustable GPU support stand. An alternative support is also included when the side cover is not in-use.
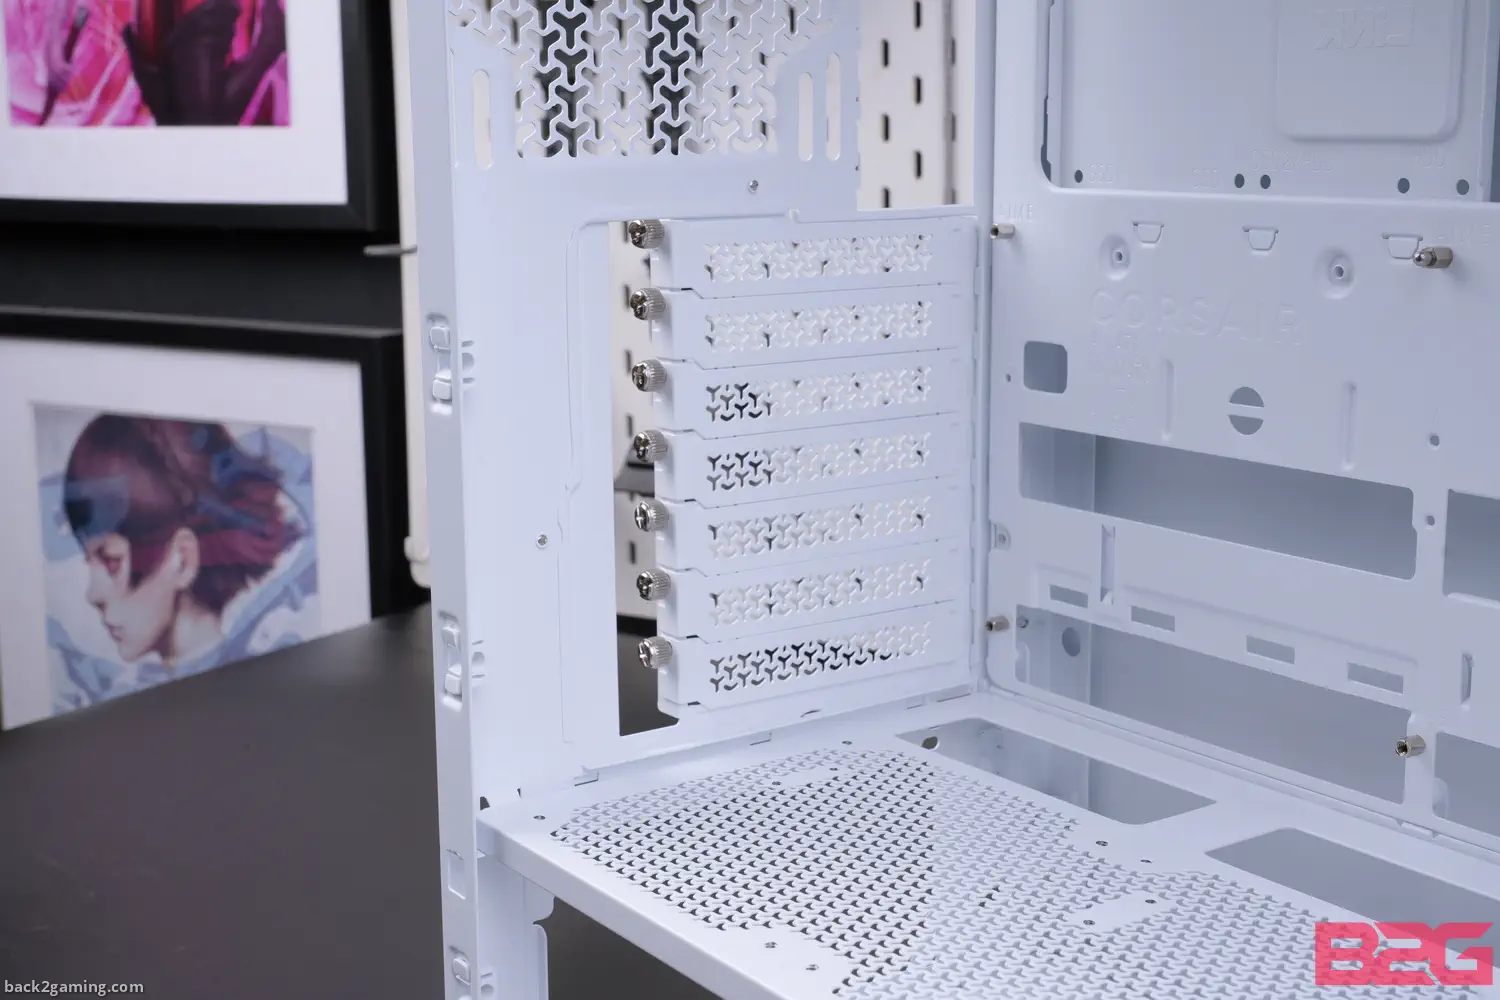
The expansion slot covers are secured with thumbscrews and the entire rear expansion panel can be rotated for vertical GPU mounting.
Another removable area is the drive tray on the bottom of the case. In the off chance you need a hard drive, this is the best mounting area to do it on but if you’re watercooling, I highly encourage using other storage solutions but if you insist it is adjustable to move out of the way.
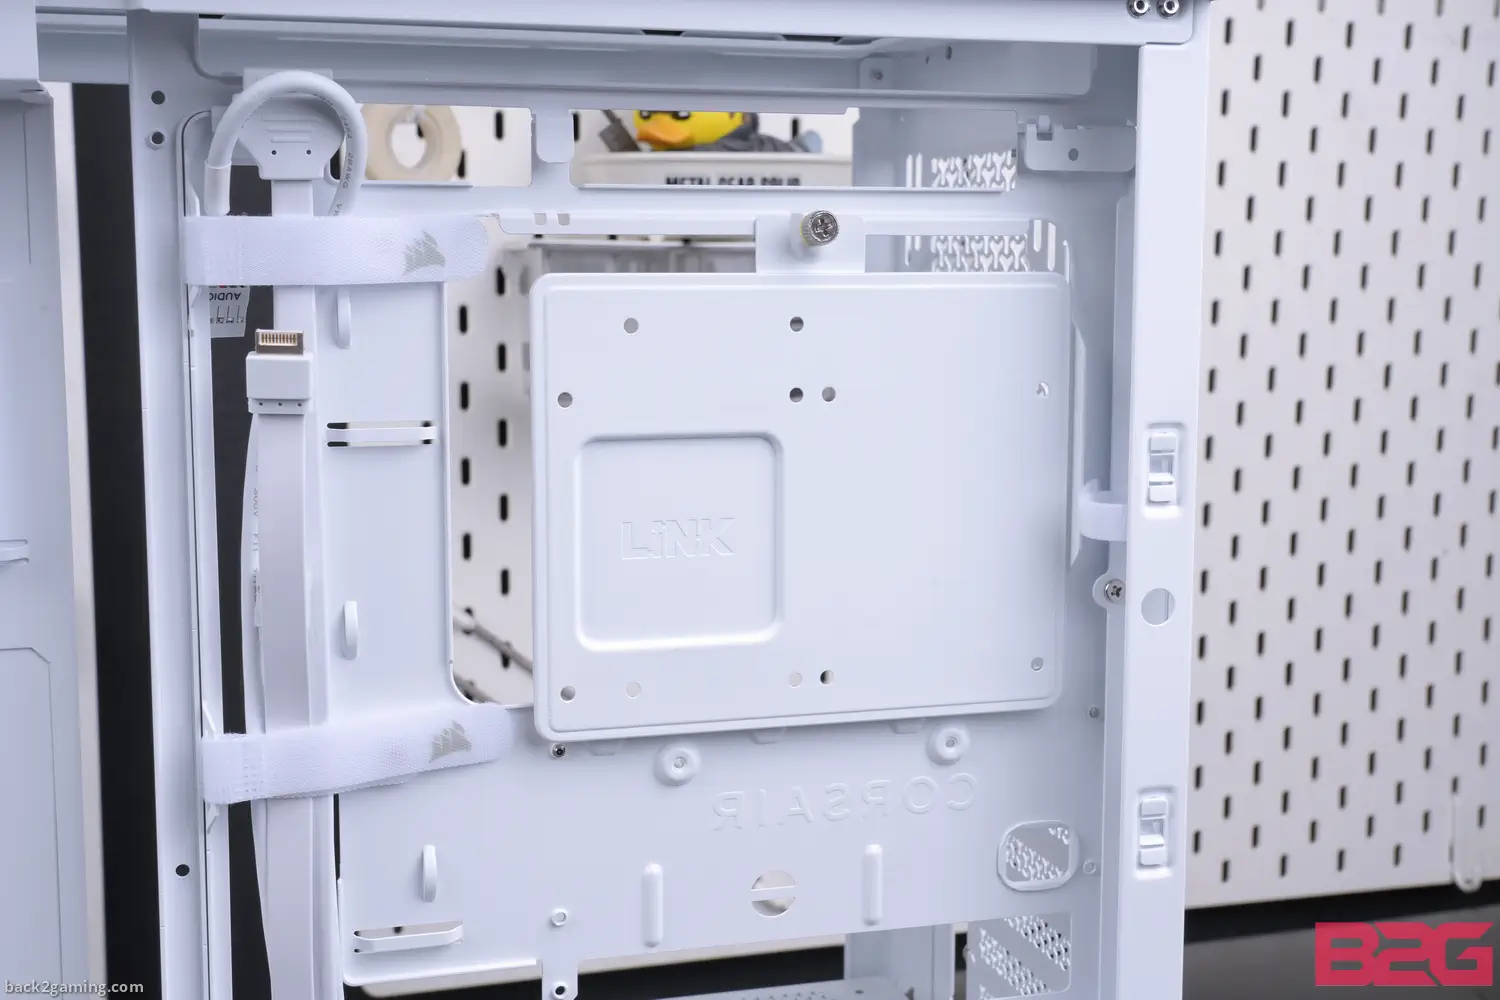
Now onto the back of the motherboard tray we see that tray on the CPU cutout. This plate is usable as a drive mounting plate as well as an iCUE LINK system hub controller.
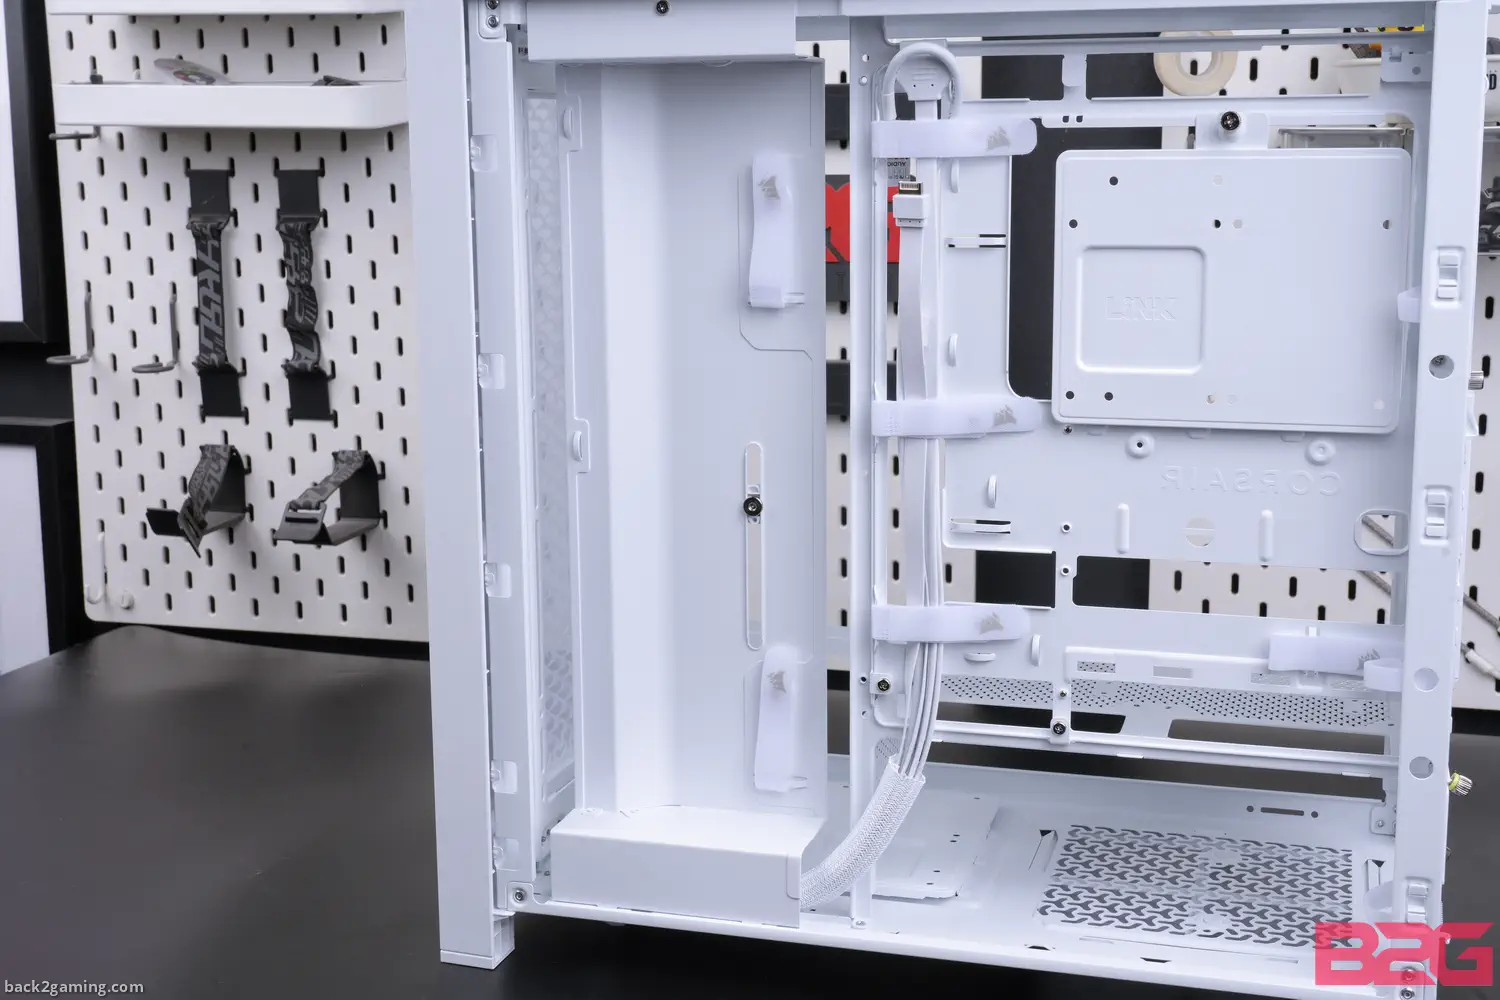
Out of the box, the Corsair FRAME 4000D has tucked cabling on the rear of the motherboard tray ready for connecting to your motherboard.
The FRAME 4000D has plenty of tie-down areas and the preinstalled straps do a good job in securing the cables.
One of the reason you want to move the HDD/SSD plate is becaause longer power supplies will require some more space along with the cables needing a place to be tucked in.


