Corsair’s InfiniRails concept is similar to DIN rails and uses sliding plastic bits to mount the fans. They’re adjustable via screwed-down locking tabs marked for specific fan diameters e.g 120mm, 140m, and 200mm for the front and only up to 140mm on the top.
Corsair’s QuikTurn screws are pretty much the only tools you’ll need if you opt to install extra fans on the FRAME 4000D. The fan mount on the back can be adjusted vertically for best orientation.
We’re also reviewing the new Corsair iCUE LINK LX series fans and we’re using them in this case. Included in our build is the white version of the iCUE LINK system hub which embed magnetically on the recesses on the case: one on the back and one on the bottom.
I wanted to point out that the bottom cable routing does get rowdy so a bit of tie downs is in order once you fix them in-place.
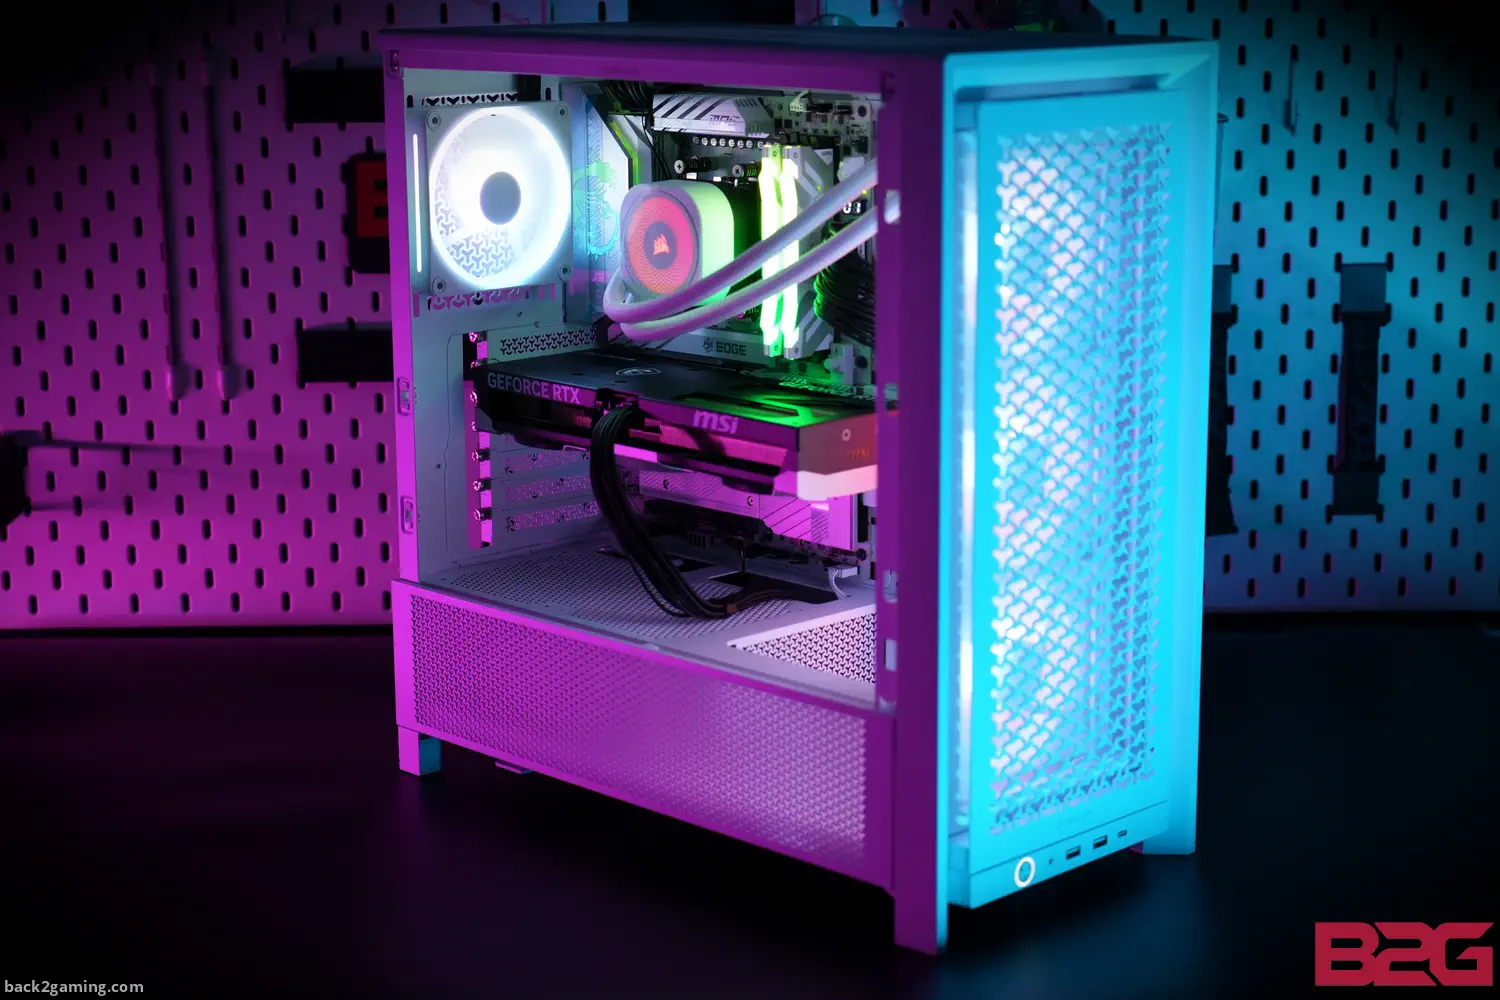
Here’s our sample build featuring a full-sized ATX motherboard, a 360mm AIO cooler and a full stack of fans for intake. Since we’re venting on the side, the front and back fans are doing intake and residual front air creep alongside the side then get cycled upwards while the back fan blows inside, over the motherboard. Overall, building was very quick and easy although there’s some removal needed when using the side vent.
And here we have fans powered on with lighting to show how it looks like when lit. The fans (not included in base FRAME 4000D) show through the front grille.
Most of the slack of the cables can be tucked at the bottom but the shroud is not fully sealed some manual movement is needed to push around the cables to keep the visible area clean.
They will still peak through though.
The FRAME 4000D’s has cable through-holes on the motherboard tray sides and the tray itself. It helps in keeping tight routing even on smaller mATX and mITX boards which is a very good touch. PCIe and 12VHPWR cables still need to route from the bottom or the side which does leave a noticeable slack on standard GPU mounting.
And here’s the finished build fully RGB-fied with some fans.


